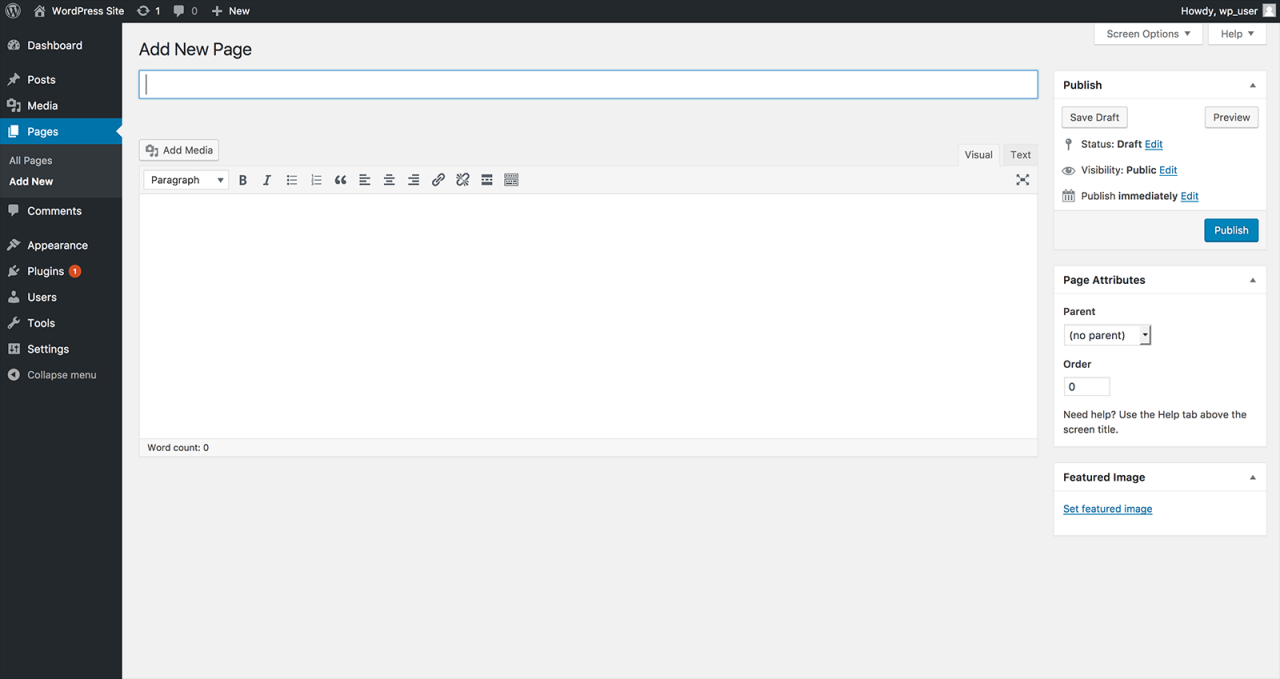
Use WordPress pages for static content or information, the kind which includes content that doesn’t change frequently. These can include your About Us page or any product pages.

- Locate the Pages menu available in the WordPress dashboard and select the Add new button.
- Give your page a logical title for quick reference, name the About us page on your domain ‘about’ for example. The title you choose may double up as the URL slug, which is the exact address of a specific page. By setting up permalinks, the title ‘about’ creates the automatic URL slug http://yourdomain.com/about/.
- To set up permalinks (optional step) head to the dash and follow Settings > Permalinks and select Post name as your default permalink structure.
- Type your content in the content area.
- Now that you’ve begun creating a page you have a few options. You can post immediately, save your work as a draft and come back to it later or schedule the page for future publishing. You may want to preview your page one last time before clicking Publish. You’ve now added a new page to your WordPress site.
You may edit the contents of published pages. To make any changes click on the page’s title under Pages in your dash to re-open the corresponding page’s editor. Once you’re happy with any changes you’ve made to the original contents, hit the publish button to see them go live.

Comments (0)